

100% Whole Emmer Sourdough Bread
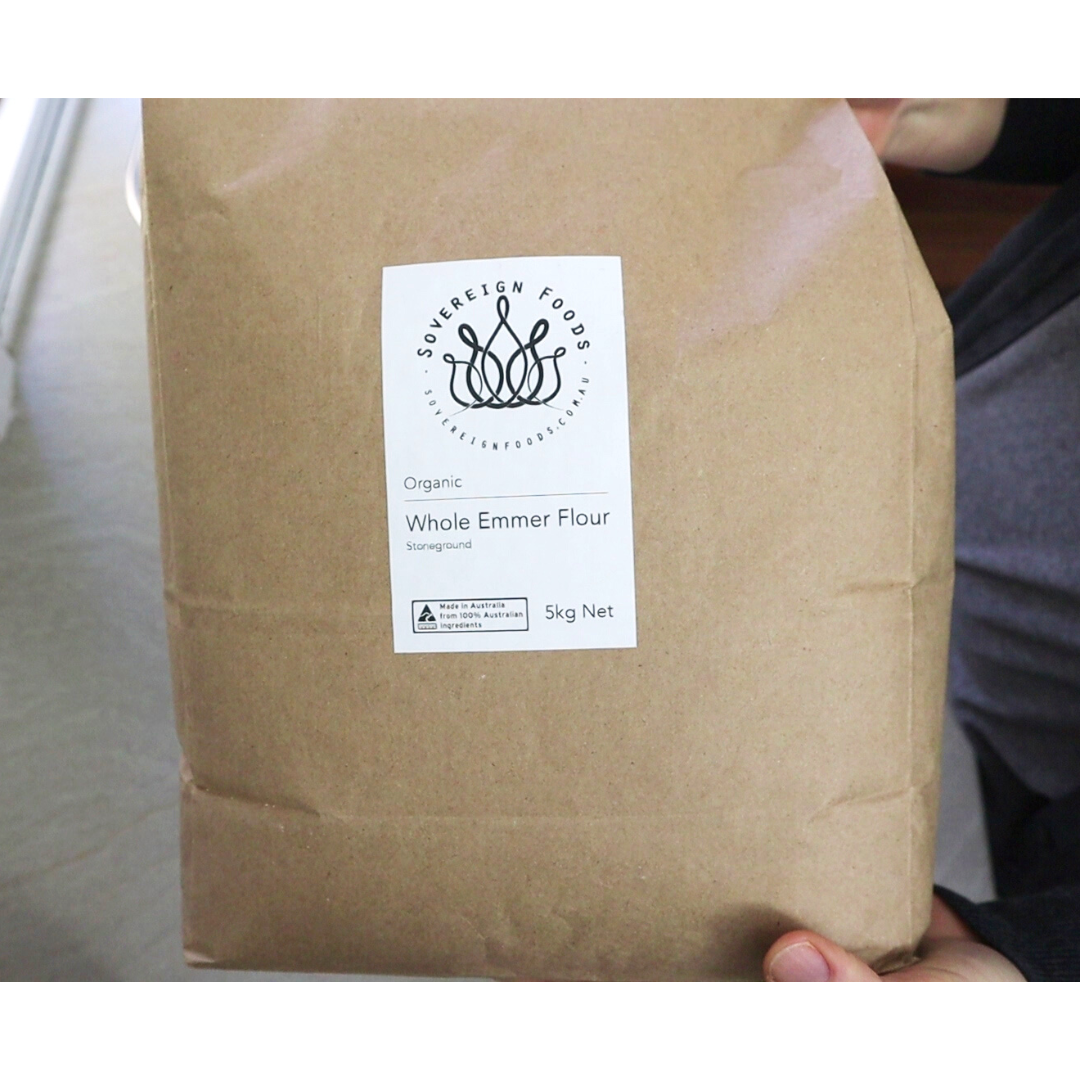
It was very special to get my hands on some of this Central Queensland grown whole Emmer flour recently. And what an amazing bread it made! The grain that made this flour was grown organically on a family farm near Emerald, Queensland. The flour was milled and distributed by Wholegrain Milling Co in Gunnedah, New South Wales. I purchased it directly from Sovereign Foods here in Brisbane, and I thank Thor, Tara and the team there for working so hard to bring such beautiful organic pantry produce to Brisbane!
I had a lot of fun making this loaf, as you’ll see in my video on the Elly’s Everyday Wholegrain Sourdough YouTube channel. It was casual and impromptu, but the results were outstanding. Another example of an easy whole grain sourdough bread recipe to try at home - very nutritious and extremely delicious!
Emmer is one of the three ‘Farro’ ancient wheat grains, along with cousins Spelt and Einkorn. I enjoyed reading this entry on Wikipedia about it.
Let’s get into the recipe!
Ingredients are listed below, check out the video for all the finer details of this bake.
100% Whole Emmer Sourdough Bread
Ingredients:
500g whole Emmer flour
9g salt
375g water (75% hydration)
100g sourdough starter
(I called this a ‘Frankenstarter’ in the video because it was all I had in the fridge that day and the starter had been fed with an unusual mixture of whole rye and brown rice flour! It just goes to show you don’t need to be too fussy about your sourdough starter. More on my easy sourdough maintenance method here).
Method:
I used my ‘Bear’ mixer to make this dough. Here are some links for it if anyone is interested (USA link or Australia link - these are affiliate links). I love this little machine! It is designed for the domestic market in China to make steam bun and noodle doughs, but so far it’s been working wonderfully for my whole grain sourdough bread making!
If you have a bread machine you could also use that to knead your dough. Just mix the dough for about 10 minutes then remove it from the machine to prevent overheating. You could also use a stand mixer, but they work more vigorously - just knead for about 5 minutes.
This dough could also be kneaded by hand, or use the ‘no knead’ method with a few stretch and folds added during the process if you have time (an example shown in this spelt recipe).
Add all ingredients to a bowl or mixer, and combine, then knead until you have a nice smooth dough. If using a mixer, add wet ingredients first. If making by hand in a bowl, I prefer to add dry ingredients first, then the water and sourdough starter.
Once mixed, cover the dough and leave to ferment for anywhere between 3 and 8 hours. The speed of fermentation depends on the temperature of your ingredients and environment, and your sourdough starter, which can all vary quite a lot! Watch the dough and not the clock, it’s ready to shape when it has visibly increased in size, feels a bit light and airy and there are some bubbles in the dough when you look under the surface. Check out the video for an up close demonstration of this.
Once the dough has risen up by about 50% of it’s original volume, gently pre-shape it into a smooth ball. Cover and rest for 15 minutes.
Shape the dough into it’s final loaf shape. I generally tend to roll my doughs up into a longer loaf shape. I prefer this to rounds/boules on most occasions.
Place the dough into a floured banneton (I use a cloth liner), then into a sealed plastic bag or other sealed container for the final proof (you don’t want your dough to dry out).
In the video I proofed my dough in the fridge overnight and baked it after lunch the next day (refrigerated for 21 hours in total), however you can proof your dough at room temperature and bake the same day if you wish. When proofing at room temperature, look for about 50% rise and for the dough to become a bit softer and lighter to the touch (I don’t poke my doughs, a light touch can tell you if the dough has some CO2 in it or not).
When ready to bake, preheat your oven and baking pot or other equipment (eg. baking stone with cover, dutch oven etc.) to 220°C/428°F.
Bake the bread for 30 minutes covered, then another 10-15 minutes uncovered. The bread is ready when it sounds hollow when tapped on the base.
Cool on a wire rack and enjoy with your favourite toppings. This bread has a lovely, mild wheaty flavour. A bit nutty, very delicious!
Happy baking as always!
Looking for more?
Find out about my Mockmill 200 and where you can purchase one from just about anywhere in the world!
(There are discounts available in some locations).If you would like to support my work you can ‘buy me a coffee’ here (big thanks to all of you who have 🌼)
To comment:
Type your comment and click ‘post comment’
Enter your first name or an initial/symbol (any character will do the trick - it just needs to have something in the name field)
Click ‘comment as guest’ and your comment will be published.