

Easy Everyday Sourdough Bread - This time, 100% Whole Grain!
It's been five years since I made my very first ever youtube video, Elly's Everyday 'Easy Everyday Sourdough Bread' and I thought it was about time I did a remake using 100% freshly milled whole grain flours!
You can view my original video here if you are interested in seeing it. This video was the unexpected beginning of my youtube career!
This recipe follows the exact same method with the same equipment as my original video, the only difference being the replacement of refined, all purpose white flour with freshly milled whole wheat and rye flours. This is a flexible recipe and method which is great for people who want to make bread around work or other activities.
I bake my sourdough loaves in ceramic casserole pots, roasters, dutch ovens or in bread pans placed inside a large roaster. As long as your baking vessel has a well-fitting lid or you can cover it in some other way – you can use it! This video I made a few years back has some interesting ideas for DIY bread baking setup options at home.
The easiest and most forgiving way to make this sourdough bread is in a loaf pan. My husband Jim makes his own whole wheat and spelt sourdough bread using this very same no-knead method. He bakes his in a tin and they are superb! (see photos). This is perfect if you want to enjoy a more relaxed approach to sourdough bread making.
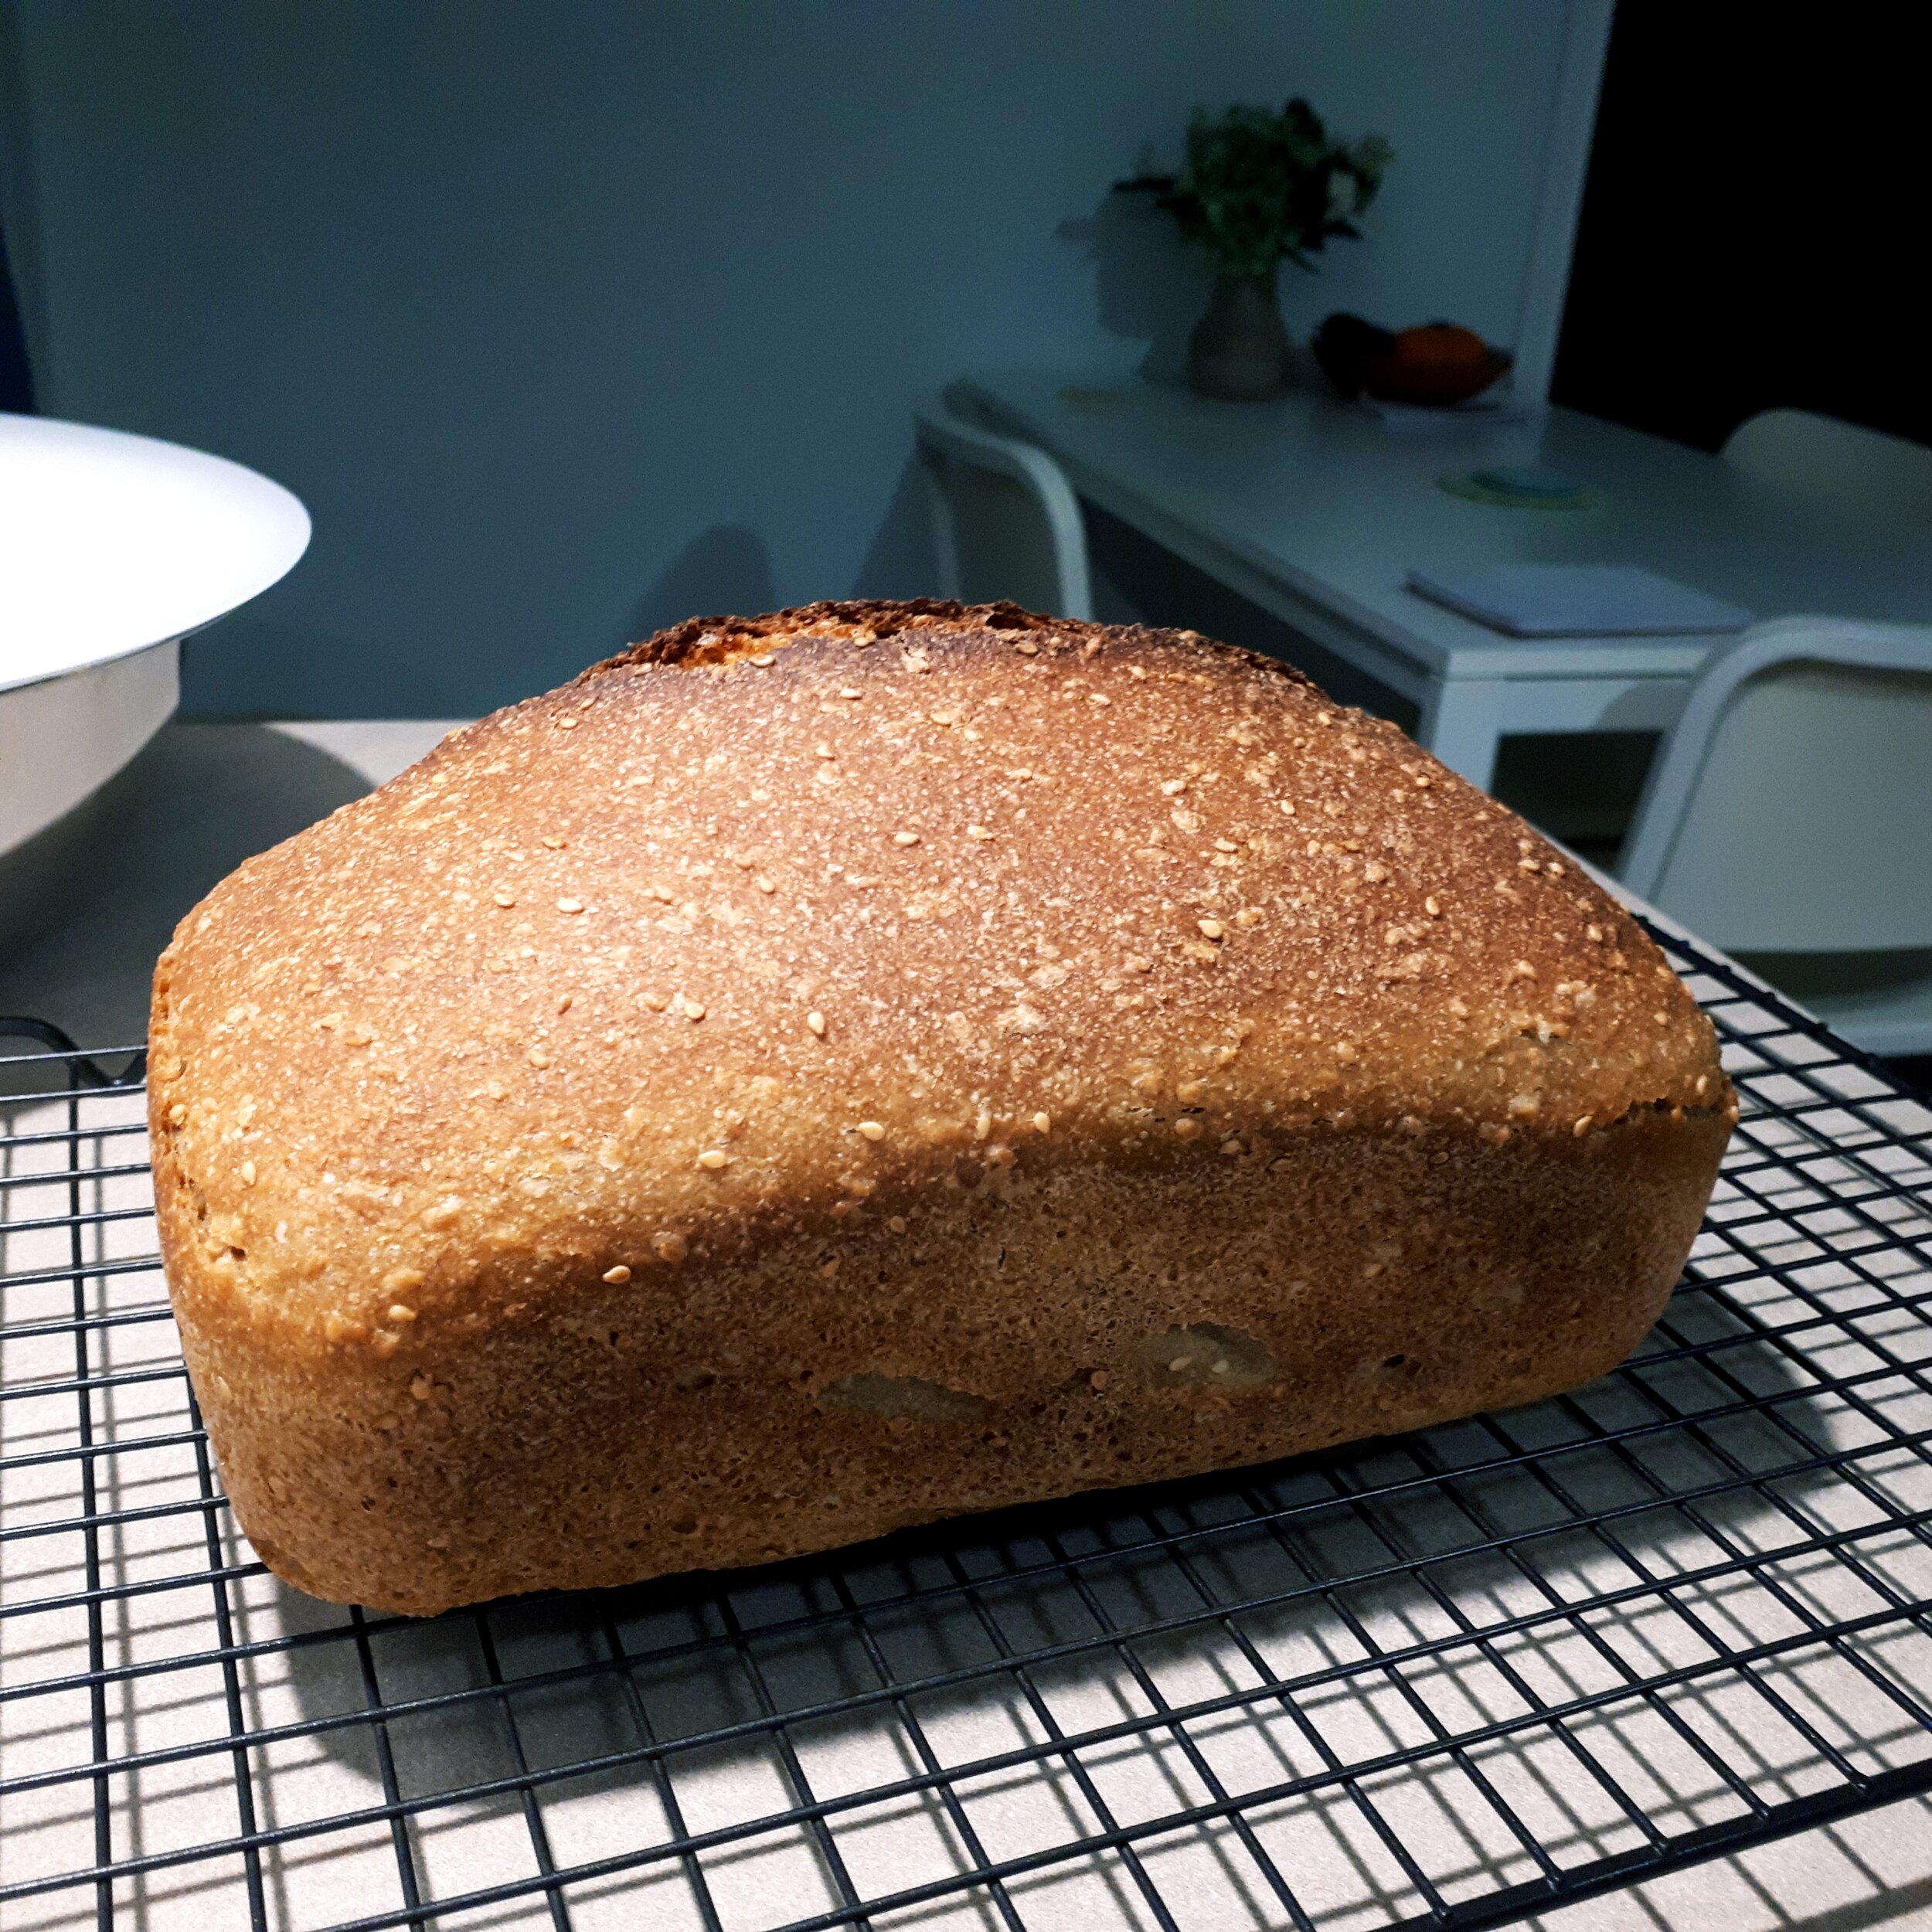
One of Jim’s recent loaves. He loves half spelt and half whole wheat, and loads them with sesame seeds :)
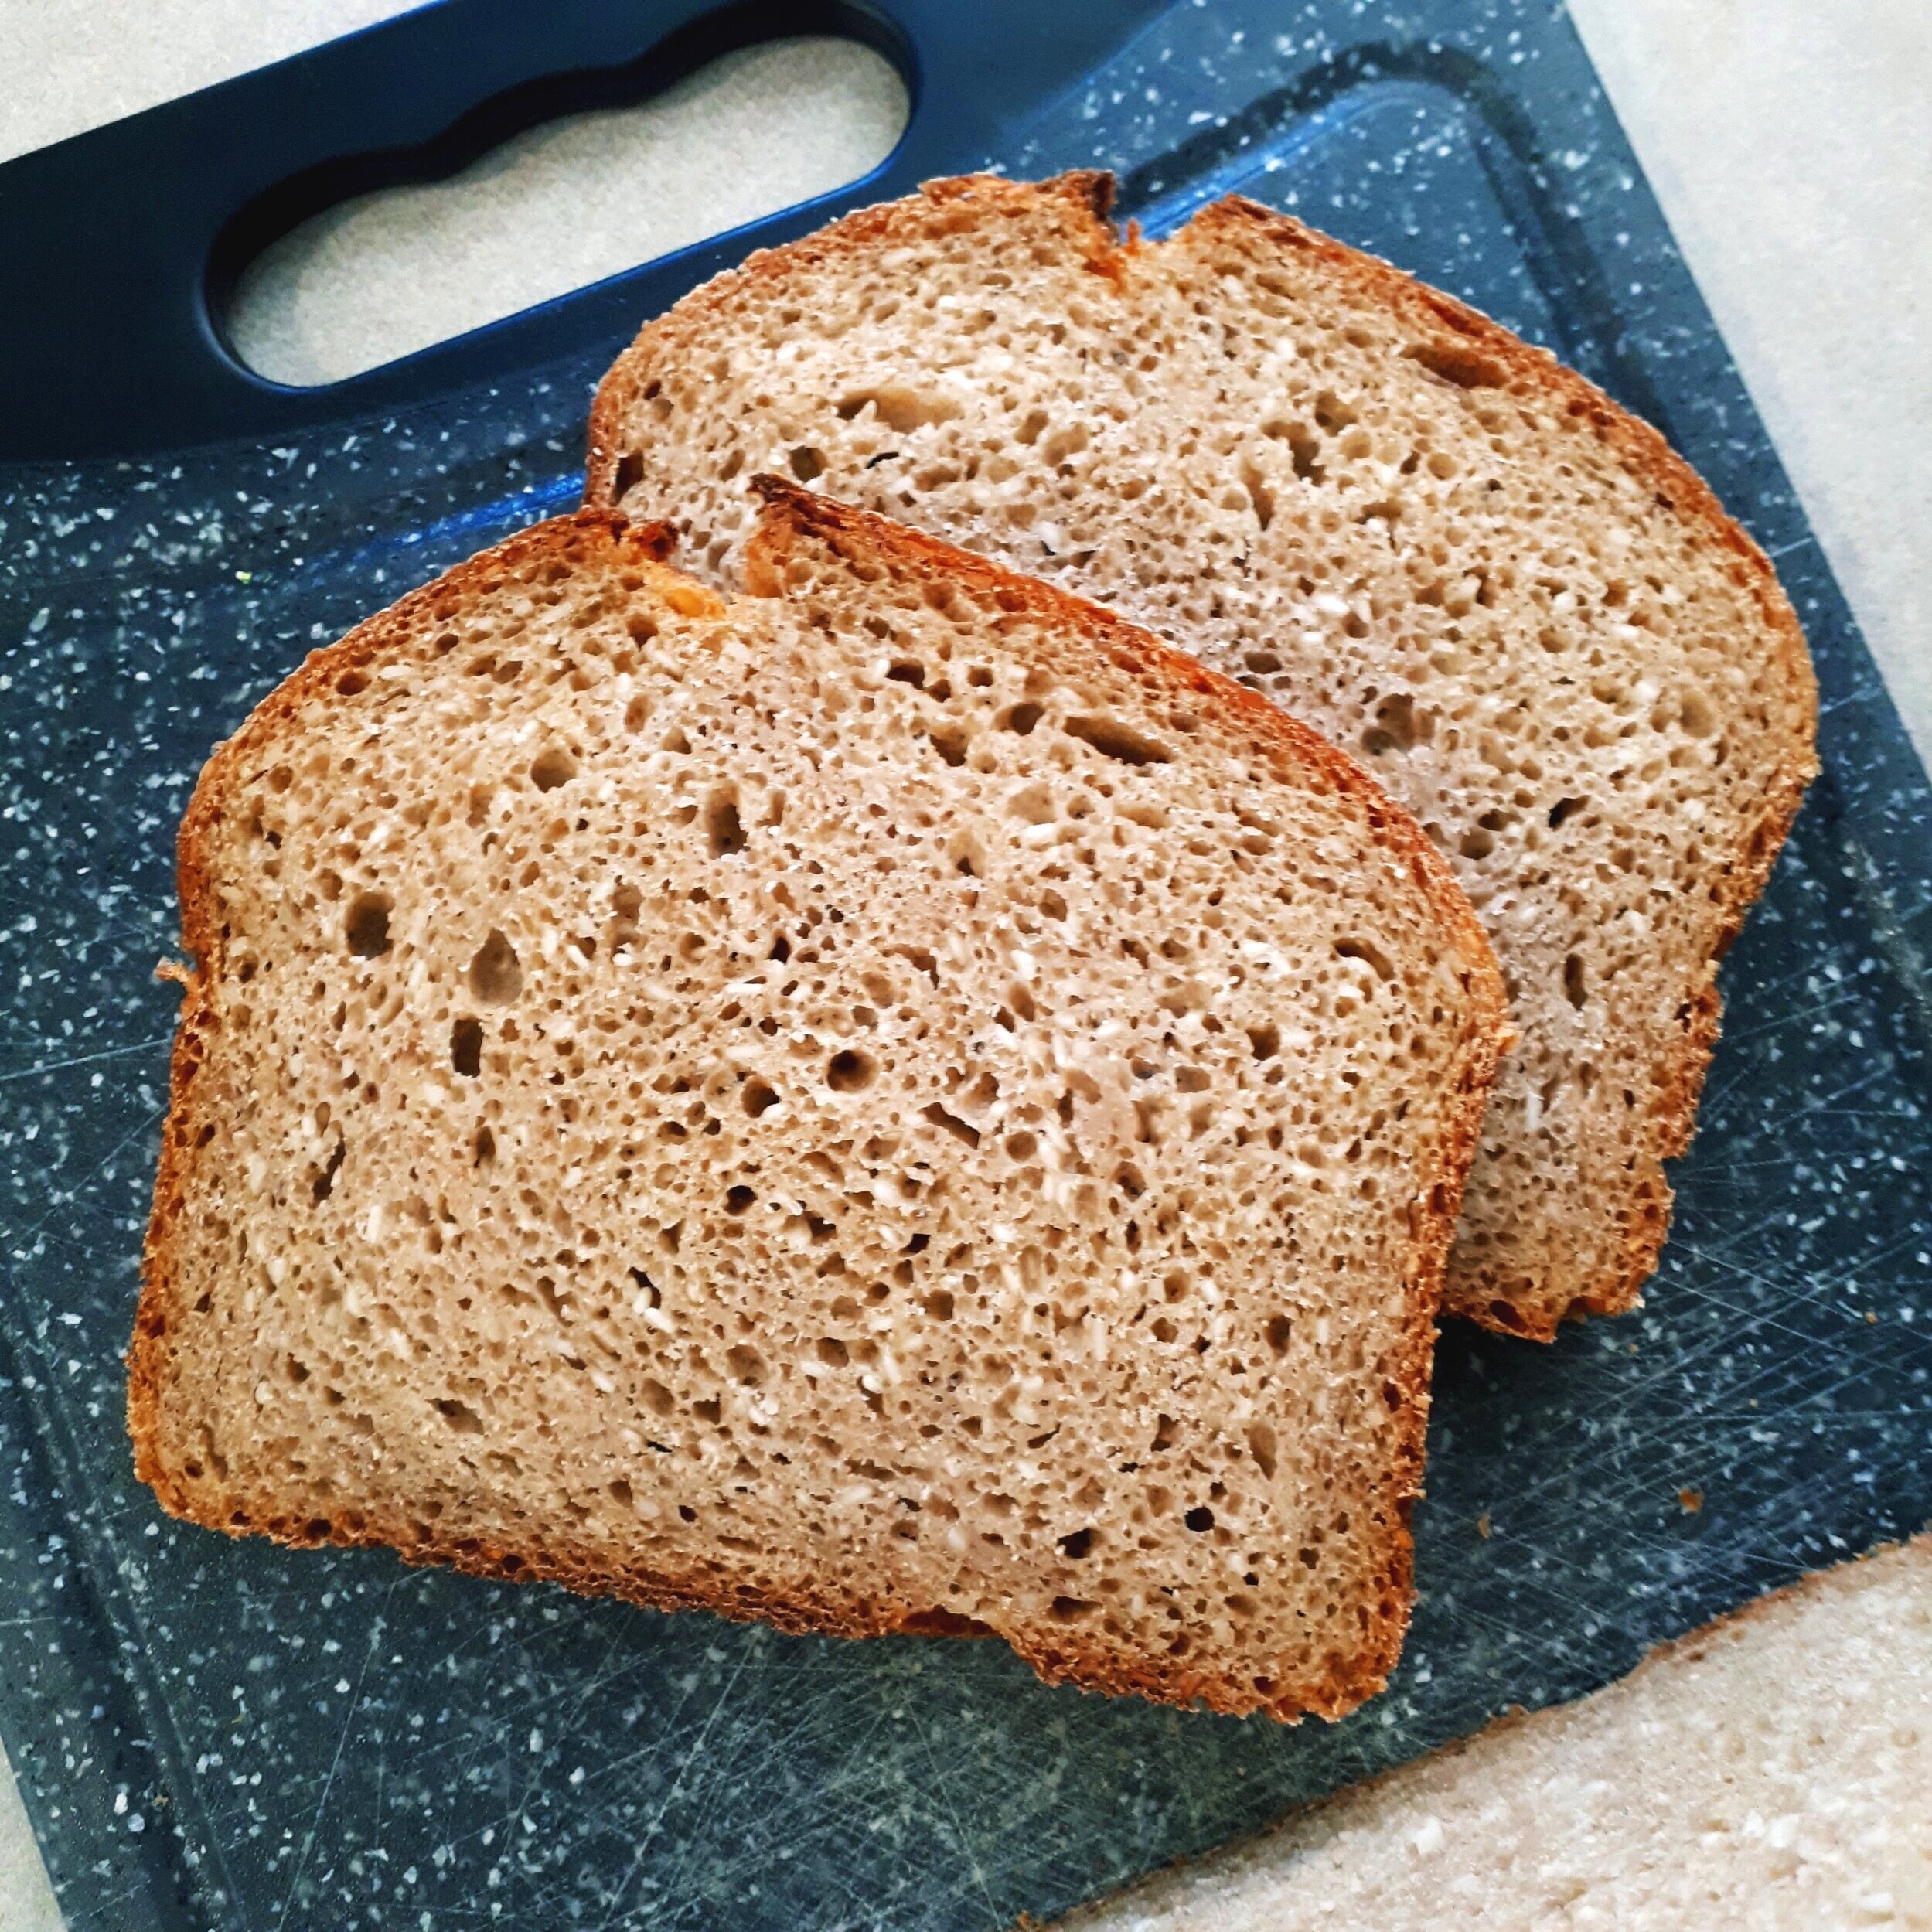
Crumbshot of Jim’s loaf.
Perfect for work snacks (coffee and toast, mmmm).
The Recipe
STARTING NOTES:
My cup measurements are metric: 1 cup = 250ml
This recipe uses approximately 500g whole grain flour (mostly wheat, but try other combinations!)
If you are starting with whole grain and milling your own flour, you will need to weigh 500g of grain, or measure about 2.5 cups of grain
2 cups wheat and 1/2 cup of rye if you want to follow my recipe closely.
If you are starting with store-bought whole grain flours, you will need 3.5 - 4 cups of flour
My flours weigh 130-140g per metric cup. This bread is very forgiving so don’t get too caught up on exact measurements.
The sourdough starter for this recipe does not need to be freshly fed. I use mine straight from the fridge, I explain my method and rationale for this in this video. This bread has wonderful flavour, which I think is largely due to using mature starter from the fridge that is at least a couple of days old (since the previous loaf of bread in my case).
INGREDIENTS:
500g whole grain flour (3.5 - 4 cups. I used mostly wheat with about half a cup of rye)
1.5 tsp salt
1 heaped teaspoon psyllium husk (optional, it just helps to give the loaf a bit more body/binds the dough)
2 heaped teaspoons sesame seeds (optional)
1/2 to 2/3 cup of whole wheat sourdough starter (any starter will do though)
1.5 to 2 cups of water (this depends on your flour, and if you’re using the psyllium husk. It should be a fairly moist dough. Watch the video to see my dough texture)
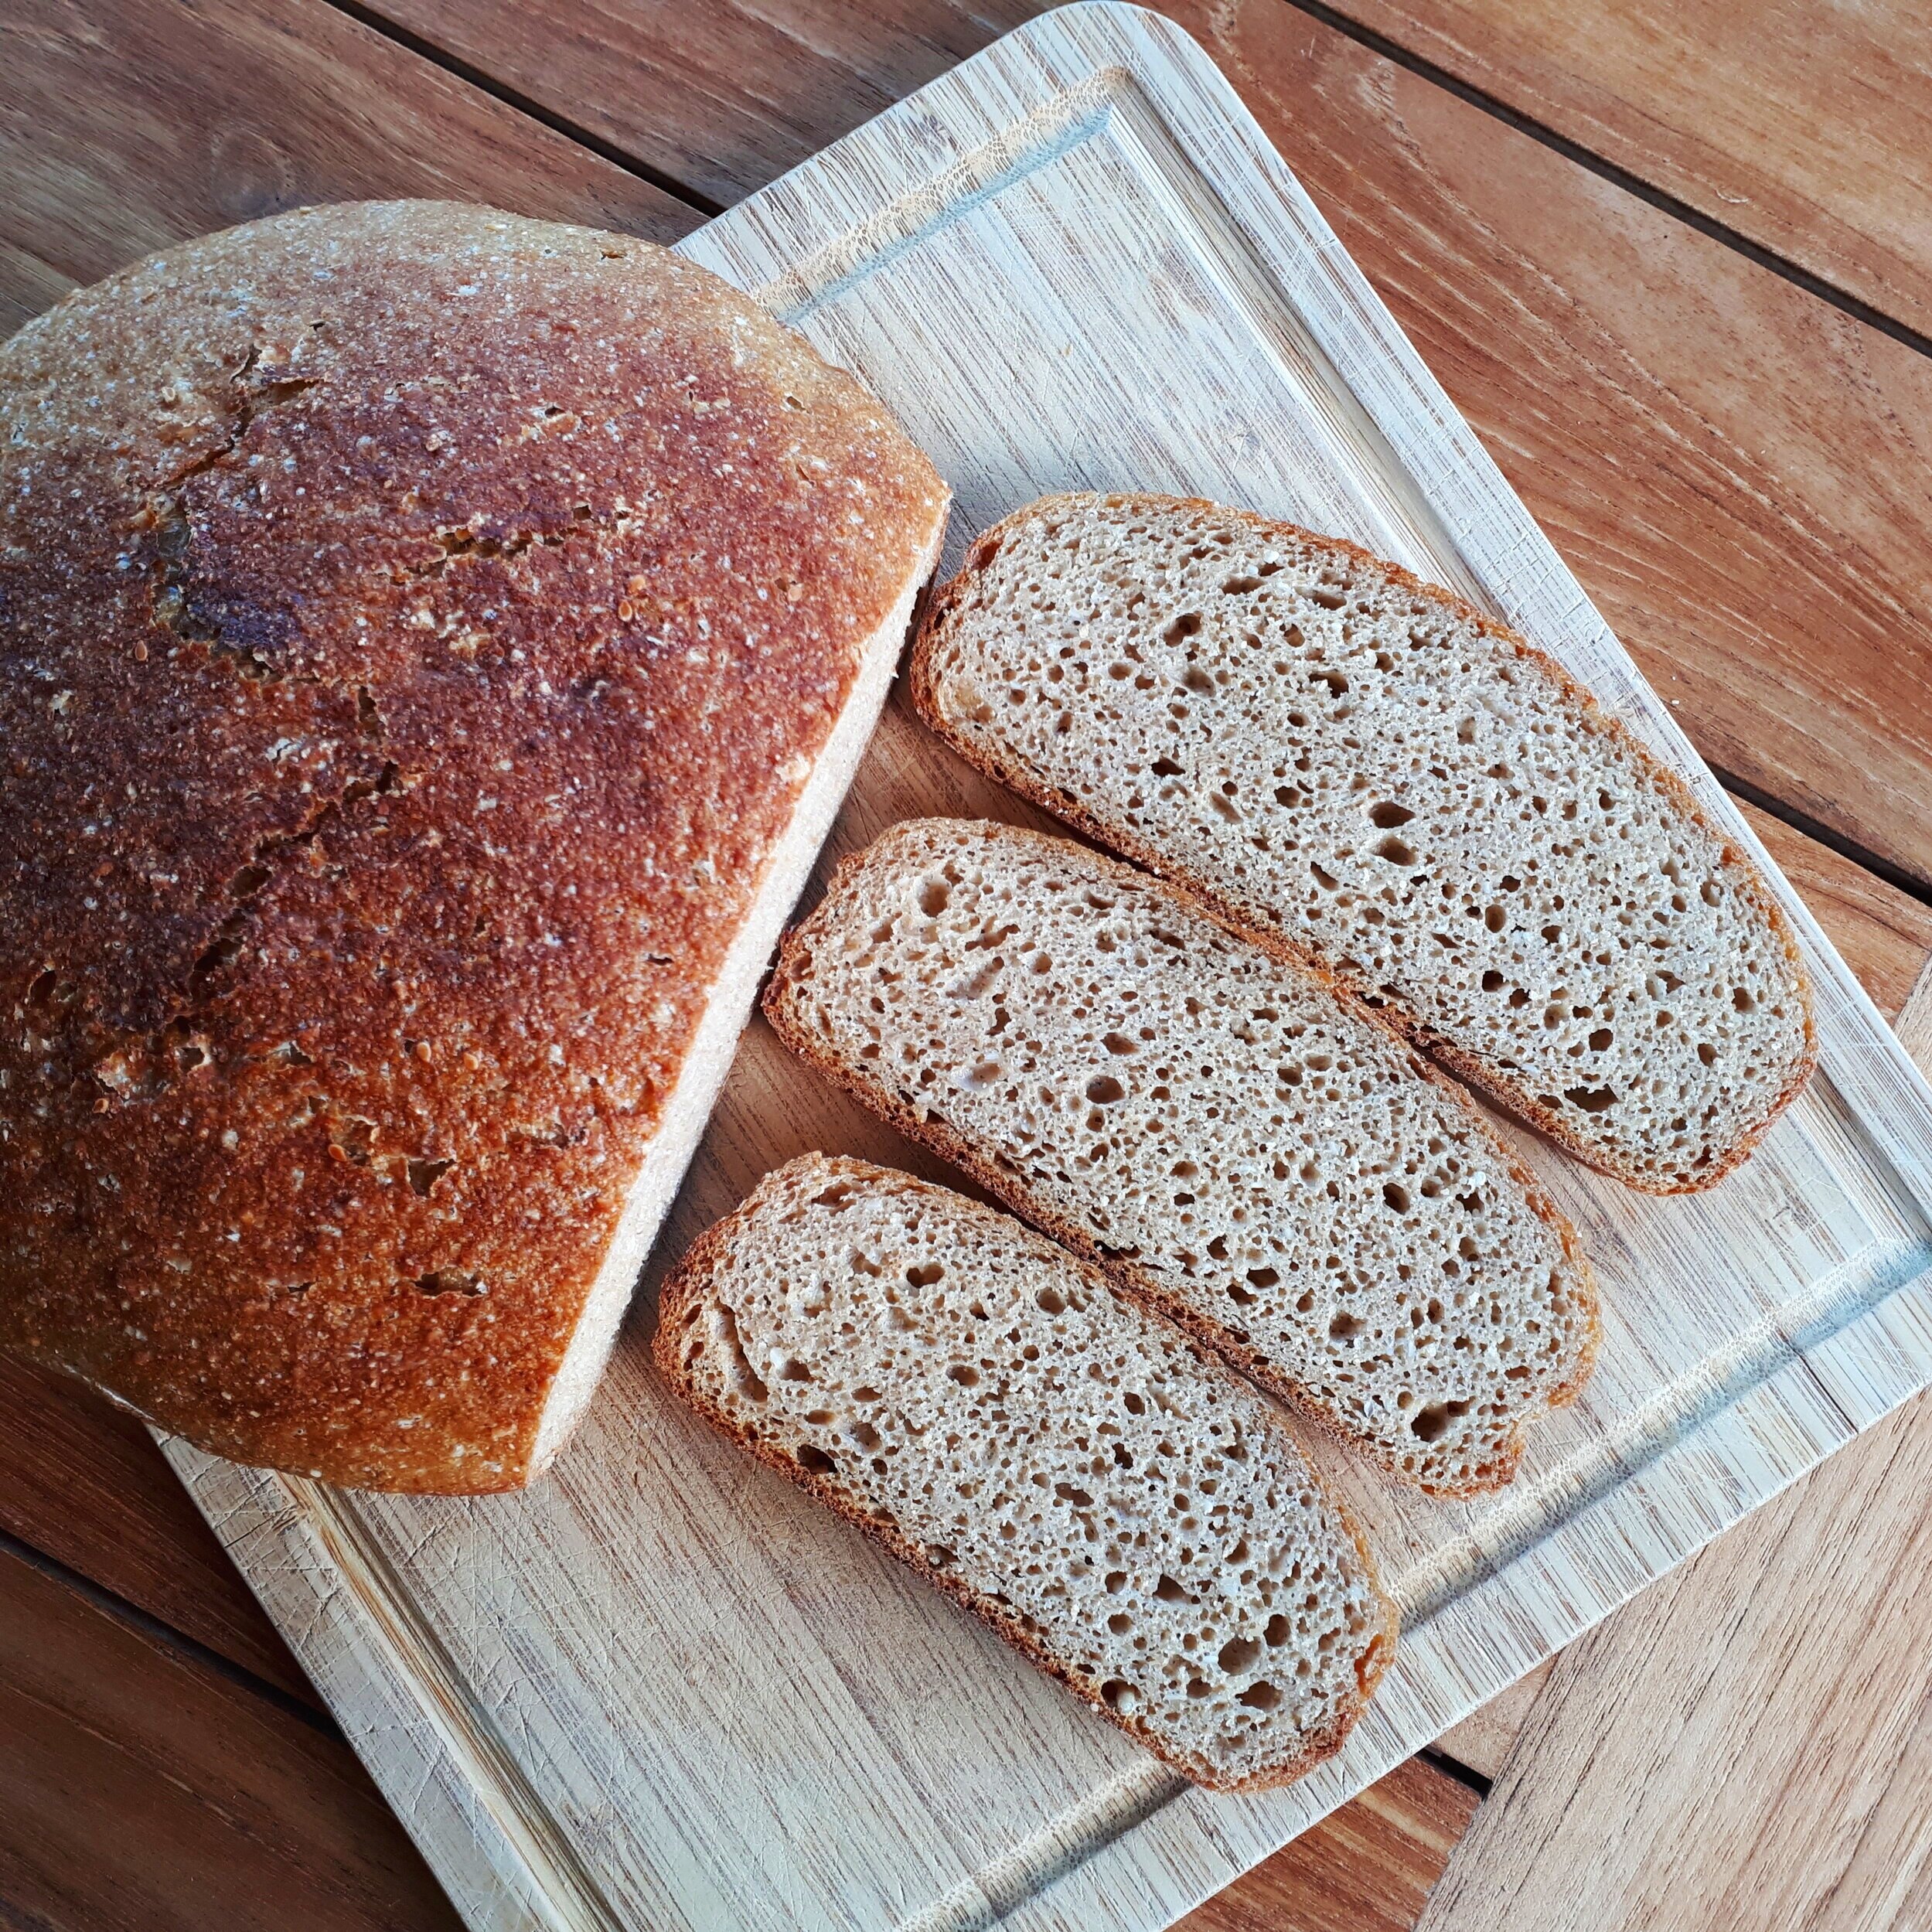
Crumbshot from the video loaf
METHOD:
Mixing the dough
Mix the salt, flour and any other dry ingredients you are using together in a bowl.
Make a well in the centre of the flour, and add 1.5 cups of the water.
Add the sourdough starter into the water, and mix with a spoon until the starter is dissolved into the water before starting to incorporate the rest of the flour.
Keep mixing the dough until everything is well incorporated. Add enough water to make a nice soft (I call it ‘squidgy’) dough but it should not be sloppy! Squeeze the dough between your fingers. You should be able to squeeze it easily but it should still look and feel like bread dough.
Fermentation
Cover the bowl with a plate or similar cover (don’t use a towel, the dough could dry out) and it leave to ferment until close to doubled in size. In cool weather (below 22°C /70°F) you can leave this dough all day or overnight, and bake it when you get home or get up the next morning. In warmer weather, if you are home and can keep an eye on it, just ferment until it’s approaching double the original volume then move to the next step. If you want to go out or leave it overnight, place the covered dough inside a drinks cooler or other insulated box with an ice brick. This will keep the dough cool enough to prevent over fermenting over a long period, but warm enough to ferment the dough.
The ideal bulk fermentation temperature is between 18 and 23°C. At summer room temperatures, my dough ferments and doubles in size in less than 5 hours. In winter it is a lot slower and can take up to 12 hours. If I need to go out all day I make sure that my dough is at a temperature that is cool enough for it to last all day without over fermenting. Using cold water in the dough mix is another great tip for summertime sourdough fermentation.
Once your dough is fermented, it should be visibly bubbly inside and risen up in the bowl. If you don’t have a glass bowl like I use, try to gauge it by the amount the dough has risen. Ideally, you want the dough to have risen up to close to double its original size. If the dough is very bubbly on the top surface it could be close to over-fermenting. If you see this, shape and bake your dough as soon as possible.
You can also give the dough a stretch and fold a few times through the bulk fermentation if you are home. This does help with gluten development but is not absolutely necessary.
Shaping the dough
After the bread is adequately fermented, the dough is shaped simply, ready for the final proof and baking.
See the video for my basic shaping and non-stick baking paper method, otherwise just gently fold the dough a few times in the bowl, with wet hands or with a plastic spatula, until you achieve a ball shape. Then tip the dough out onto your bench and shape it into a log if using a bread pan, or into a more neat ball shape if you are baking in a dutch oven. Use wet hands to stop them sticking to the dough, or you can also use a small amount of flour on your bench and hands. I prefer to use water because it’s easier to clean up afterwards.
In the video I place the shaped dough onto a piece of dampened non-stick (parchment) baking paper and use that as a sling to lift the dough back into the mixing bowl for proofing, then into the dutch oven for baking. Use whatever baking setup makes the most sense for you.
Final Proofing
Leave the dough to proof for 1-3 hours before baking. The total proofing time will depend greatly on the room temperature of your kitchen, and the temperature of the dough itself (the warmer your dough, the faster it will rise). Mine took 1.5 hours for the video loaf. Your dough will be ready to bake when it has risen to between two thirds and double its original size and it seems airy and a bit wobbly when it’s moved from side to side (be gentle).
You want to ensure that your oven and baking pot are preheated for at least 20 minutes before the bread goes in. Preheat your oven to 210°C / 410°F. You can bake in a hotter or cooler oven if you prefer, just be prepared to adjust baking times accordingly. My bread takes between 50-60 minutes to bake in a 210°C / 410°F oven. I used to bake my breads at much higher temperatures, but have found it makes little difference to the oven spring and is probably better for some of my more delicate baking pots (vintage Pyrex casserole dishes etc.).
Baking the bread
When you are ready to bake, lift or turn your dough into your baking vessel and carefully score the top of the dough if you think it will benefit the loaf. You will notice that I did not score the loaf in my video. That dough was very well poofed and it would have detracted from the oven spring if I had scored it. If you think your dough is close to over-proofing then scoring could deflate it. This is a judgement call you will become better at making as you gain more experience.
If you want a more spectacular, scored loaf, pay more attention to developing gluten strength in the dough (stretch and folds), shape your dough with more care, preshape the dough before the final shaping and slightly underproof the dough before baking (which is a different method altogether).
Bake the loaf covered for 40 minutes, then for another 10-15 minutes depending on your oven and how dark you like your crusts. Tap your dough on the base after baking to see if it sounds hollow. If you hear a dull thud rather than a hollow knocking sound, your bread may need longer to cook properly.
Cooling and Storing
Cool your bread on a wire rack for at least a few hours before cutting. The bread may be a little gummy inside if you cut it too early. Store your bread in a cloth, paper bag or bread bin.
Enjoy!
Looking for more?
Find out about my Mockmill 200 and where you can purchase one from just about anywhere in the world!
(There are discounts available in some locations).See my state-by-state listing of grain suppliers in Australia
If you would like to support my work you can ‘buy me a coffee’ here (big thanks to all of you who have 🌼)
To comment:
Type your comment and click ‘post comment’
Enter your first name or an initial/symbol (any character will do the trick - it just needs to have something in the name field)
Click ‘comment as guest’ and your comment will be published.